Experiencing AC issues in your Toyota Tacoma? A failing AC clutch might be the culprit. Many Tacoma owners face AC problems, and often, the AC clutch is the weak link. Instead of an expensive compressor replacement, diagnosing and replacing just the AC clutch can be a cost-effective DIY solution. This guide, inspired by a fellow Toyota enthusiast, provides a step-by-step walkthrough to help you diagnose and replace your AC clutch, saving you time and money.
Understanding AC Clutch Problems: Symptoms and Diagnosis
Before diving into the replacement, it’s crucial to diagnose if the AC clutch is indeed the problem. Common symptoms of a failing AC clutch include:
- Intermittent AC Function: Your AC works sometimes, but then stops cooling, often accompanied by a blinking AC light on your dashboard.
- Squealing or Grinding Noises: You might hear loud squealing or grinding noises coming from the engine bay, especially when the AC is engaged. This noise may disappear when the AC is turned off.
- Visible Clutch Damage: Upon inspection, you might notice visible damage to the clutch, such as melted or cracked rubber components, rust, or separation of the clutch plates.
If you’re experiencing these symptoms, an Ac Clutch Diagnosis is the first step. Visually inspecting the clutch for damage and listening for unusual noises can help confirm if it’s the source of your AC issues.
DIY AC Clutch Replacement on Your Toyota Tacoma: A Step-by-Step Guide
This guide focuses on replacing the AC clutch on a 2005-2015 Toyota Tacoma with a 4-cylinder engine. While specific details might vary slightly for other models, the general process remains similar.
Tools and Materials Needed:
- New AC Clutch Kit for Toyota Tacoma (ensure it’s compatible with your model – Example eBay link for reference)
- 8mm socket and wrench
- 10mm socket and wrench
- Vice grips
- Plastic rivet removal tool or flathead screwdriver
- Scotch-Brite pad or similar abrasive pad
- Brake cleaner (optional)
- Feeler gauge (optional, for precise shim measurement)
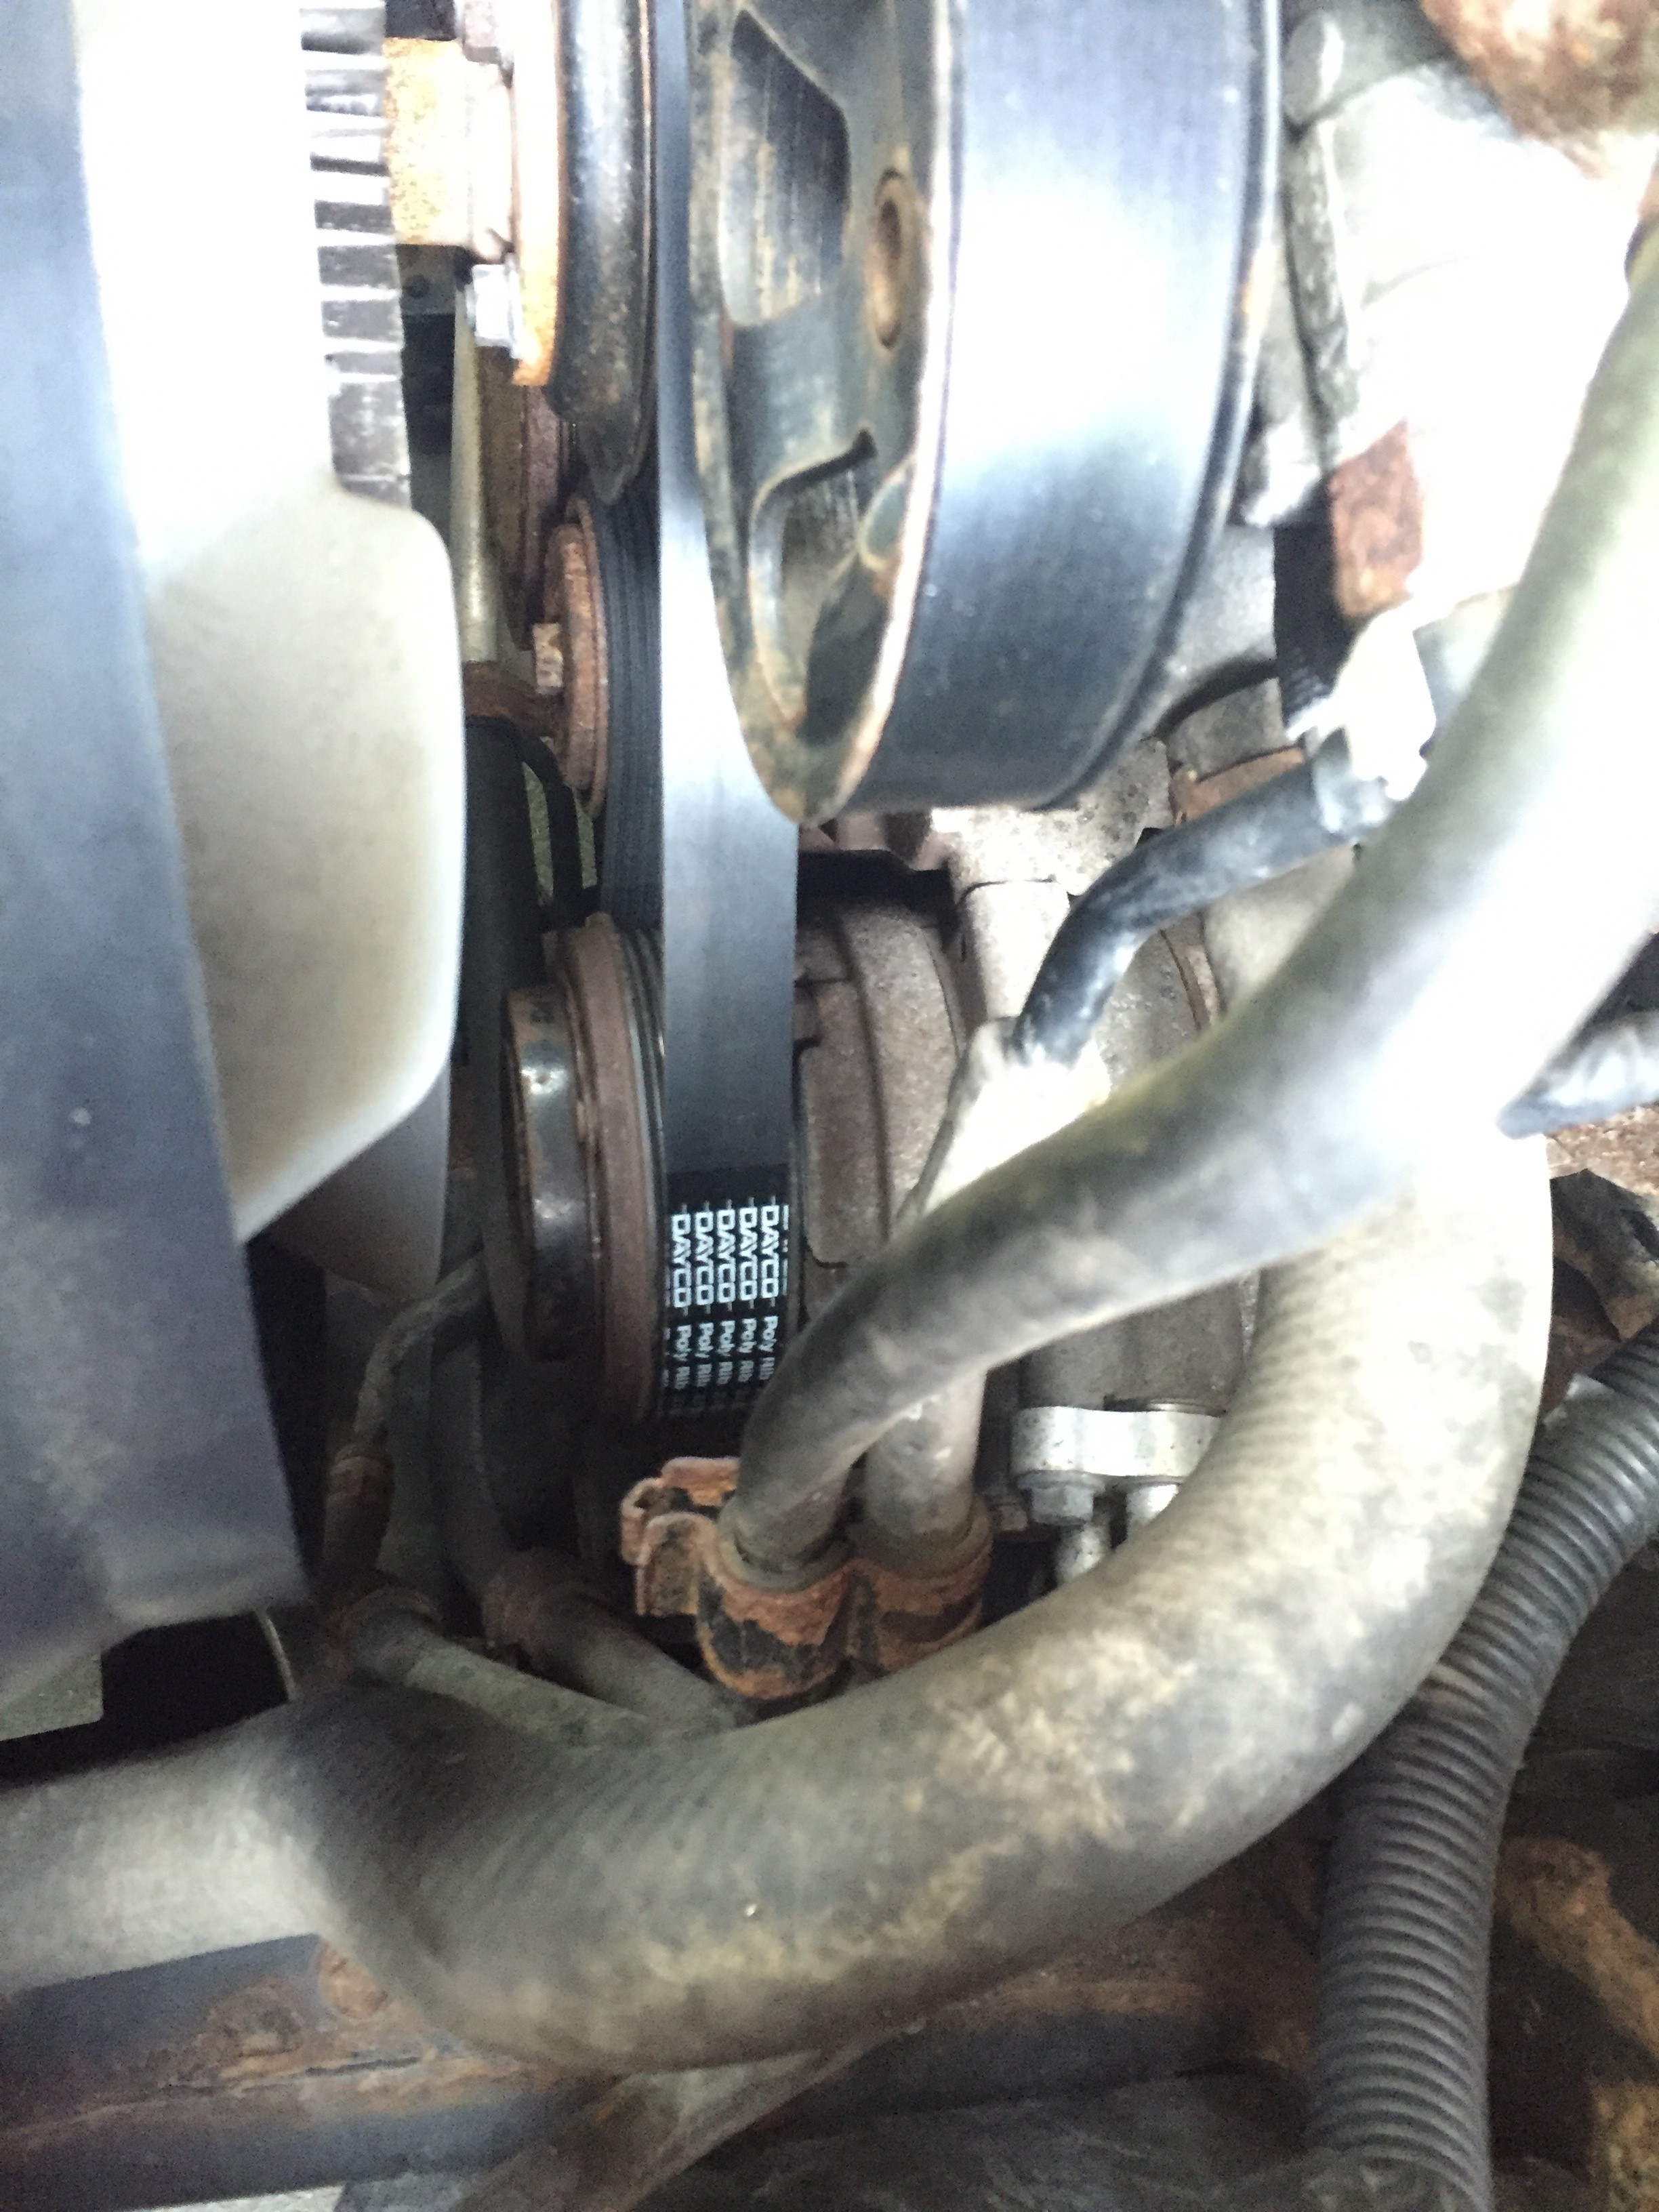
Step 1: Locating the AC Compressor
The AC compressor is typically located at the front of the engine bay, and in the Tacoma 4-cylinder, it’s the lowest accessory on the driver’s side.
Step 2: Accessing the AC Clutch
To get to the AC clutch, you’ll need to create some space by moving the fan shroud.
- Fan Shroud Adjustment: Remove the plastic rivets holding the fan shroud in place. You might also need to loosen a bolt or two near the coolant overflow and on the opposite side of the shroud. The goal is to make the shroud mobile, not to remove it entirely. Push the shroud towards the engine to gain access to the front of the fan.
- Fan Blade Removal: Remove the four 10mm nuts holding the fan blades to the fan clutch. You don’t need to remove the fan clutch itself. Once the fan blades are off, you’ll have ample room to work on the AC compressor clutch.
Step 3: Removing the Old AC Clutch
- Securing the Clutch: Use vice grips to firmly grip the inner metal ring of the AC clutch. It’s crucial to grip the inner ring because the outer part might be broken or separated. The vice grips will prevent the clutch from spinning while you loosen the center bolt.
- Removing the Center Bolt: Using an 8mm socket and wrench, remove the single 8mm bolt located in the center of the AC clutch. This is the only bolt you need to remove to detach the clutch face.
- Clutch Component Removal: Once the bolt is removed, the front part of the AC clutch, along with the old rubber isolator, will come off. You might find pieces of melted rubber, indicating clutch failure.
Step 4: Preparing for New Clutch Installation
- Cleaning Mating Surfaces: Inspect the compressor’s mating surface for any debris or melted rubber. Clean it gently with a Scotch-Brite pad and brake cleaner if necessary. Also, clean the mating surface on the removed clutch components.
- Comparing Old and New Clutches: Compare the old and new clutch components to ensure they are the same.
Step 5: Installing the New AC Clutch
- Shims are Crucial: The new AC clutch kit typically comes with shims (washers). These shims are essential for spacing the clutch correctly and ensuring proper disengagement. The original author found four shims in the old clutch and reused four new ones from the kit.
- Installing the New Clutch: Place the new clutch onto the compressor shaft. Install the shims onto the center bolt.
- Tightening the Center Bolt: Reinstall the 8mm center bolt and tighten it securely.
- Checking Clutch Gap (Important): After tightening, check the gap between the clutch plate and the pulley using a feeler gauge (if available). A gap of around 0.024 to 0.032 inches is typically appropriate. This gap ensures the clutch disengages properly when the AC is off. If the gap is incorrect, adjust by adding or removing shims.
Ensuring Correct Clutch Spacing: Why Shims Matter
Proper clutch spacing, achieved through shims, is critical for the longevity and function of your new AC clutch. Too little gap, and the clutch might drag, causing premature wear and reduced fuel economy. Too much gap, and the clutch might not engage reliably, leading to intermittent AC function. Always use shims and, ideally, check the gap with a feeler gauge for optimal performance.
Conclusion: Enjoy Your Cool Tacoma Again!
Replacing your Toyota Tacoma’s AC clutch is a straightforward DIY repair that can save you significant money compared to a full compressor replacement. By following these steps and paying attention to details like clutch spacing with shims, you can successfully diagnose and fix your AC clutch issue and get back to enjoying a cool and comfortable ride in your Tacoma.