Integrating vehicle diagnostics into your car stereo system offers a smart way to monitor your car’s health directly. With WiCAN and Home Assistant, this becomes a seamless and insightful experience. This guide expands upon the basic setup to help you create a robust vehicle diagnostic system viewable through your smart car stereo interface.
To begin, ensure you have the Mosquitto broker add-on installed in your Home Assistant setup. This acts as the communication bridge for your car data. Next, create a dedicated Home Assistant user account for WiCAN. These credentials will secure your MQTT connection, ensuring data privacy and integrity.
Connecting WiCAN to your network involves setting its mode to “Ap+Station”. This allows WiCAN to act as both an access point and a station, bridging your car’s CAN bus data to your home Wi-Fi. Input your home Wi-Fi SSID and password into WiCAN’s web interface, accessible via http://192.168.80.1/ after connecting to the WiCAN access point (WiCAN_xxxxxxxxxxxx).
Enable MQTT within WiCAN’s settings and input the Home Assistant user credentials you created earlier. This establishes the secure channel for data transmission. For data processing and automation, install the Node-RED Add-on in Home Assistant. Download the “wican_example_flow.json” file, remembering to replace “device_id” with your unique WiCAN ID. Import this flow into Node-RED.
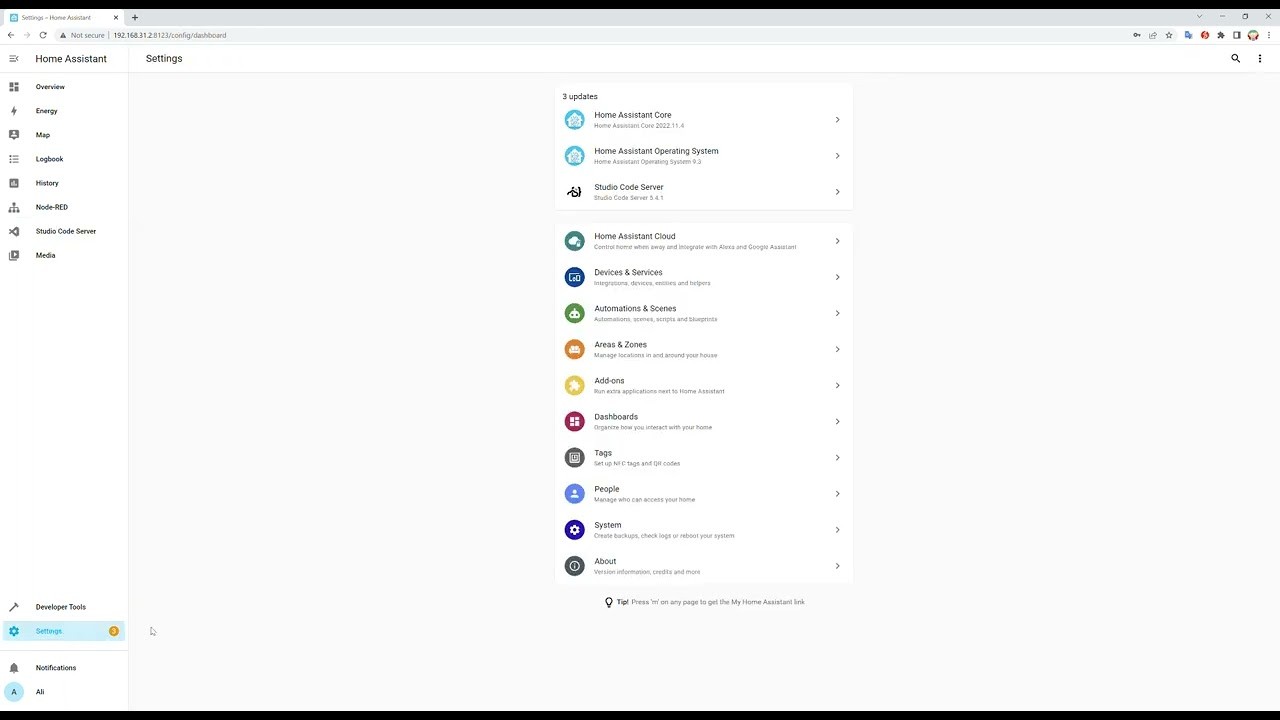 WiCAN setup interface for Home Assistant integration
Within Node-RED, double-click the subscription node and configure the server with your MQTT broker IP address and the same Home Assistant credentials. Deploy these settings to activate the data flow.
To visualize your car’s data, you need to define sensors in Home Assistant. Edit your configuration.yaml file, adding MQTT sensors for parameters like ambient temperature and fuel level. Specify the state_topic to match the CAN bus messages (e.g., “CAR1/Amb_Temp”) and define units of measurement and value_template to correctly interpret the data.
Finally, restart Home Assistant to apply these sensor configurations. Once restarted, you can add new entity cards to your Home Assistant dashboard to display real-time vehicle diagnostics. This data can then be accessed via Home Assistant’s interface, potentially integrated into a smart car stereo system capable of displaying web content, providing a custom vehicle diagnostics dashboard right in your car. This advanced setup not only enhances your car stereo’s functionality but also provides valuable insights into your vehicle’s performance and health.