As modern vehicles increasingly incorporate sophisticated keyless entry systems, the process of diagnosing and maintaining them requires a nuanced approach, especially when using diagnostic tools. If you’re accustomed to the convenience of keyless car technology but find yourself puzzled about connecting a diagnosis code reader, this guide is designed for you. Whether you aim to decipher warning lights, understand error codes, or ensure your vehicle is running optimally, mastering the use of a diagnosis code reader on your keyless car is an invaluable skill.
This comprehensive guide will provide you with detailed, step-by-step instructions on how to effectively use a diagnosis code reader on your keyless car. We will delve into understanding keyless systems, selecting the right scanner, the connection process, troubleshooting common issues, and essential safety tips. Empower yourself to take control of your vehicle’s health and performance.
Understanding Keyless Entry Systems and Diagnostics
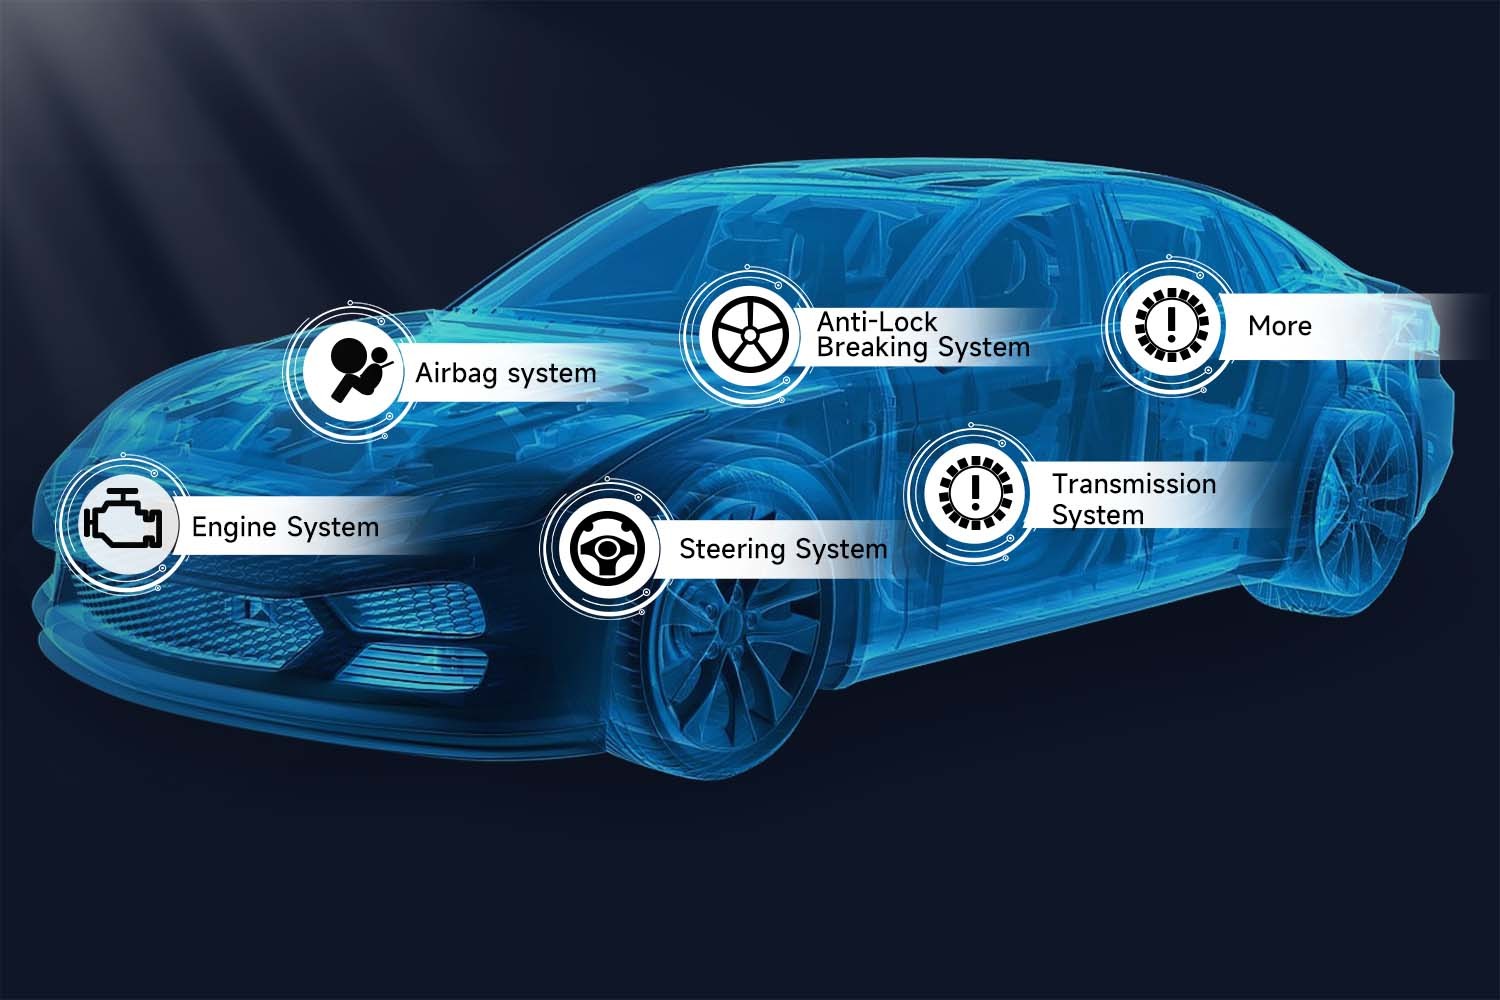 Diagnostic scanner interface displaying vehicle system checks, illustrating the process of using a diagnosis code reader on a keyless car.
Keyless car technology has revolutionized vehicle access and operation. Unlike traditional keyed ignitions, keyless systems utilize a wireless communication protocol between the vehicle and a key fob. When you approach your car, the fob emits a signal that the vehicle recognizes, allowing you to unlock doors and start the engine—often with just the push of a button. This system enhances convenience but also integrates deeply with the car’s computer systems, which are accessible via diagnostic code readers.
Modern keyless cars are equipped with an On-Board Diagnostics II (OBD-II) system. This standardized system is designed to monitor various aspects of your vehicle’s performance, from engine health to emissions control. A diagnosis code reader, also known as an OBD-II scanner, plugs into the OBD-II port, typically located under the dashboard. This connection allows the scanner to communicate with the car’s computer, retrieve diagnostic trouble codes (DTCs), and provide real-time data about your vehicle’s condition.
Understanding this interplay between keyless systems and OBD-II diagnostics is crucial. While keyless entry primarily concerns vehicle access and security, the underlying electronic systems are interconnected with the components monitored by diagnostic scanners. This means that issues within the keyless system, or related electronic modules, can sometimes be reflected in the diagnostic data accessible through a code reader.
Selecting the Right Diagnosis Code Reader for Keyless Cars
Choosing the appropriate diagnosis code reader is essential for effective vehicle maintenance. The market offers a range of scanners, from basic code readers to advanced professional-grade tools. For keyless cars, which are often equipped with more complex electronic systems, selecting a scanner with sufficient capabilities is important.
Basic OBD-II Code Readers: These are entry-level devices primarily designed to read and clear basic diagnostic trouble codes related to the engine and emissions systems. While they can be useful for simple checks, they may lack the advanced features needed for comprehensive diagnostics on keyless cars, such as system-specific tests or live data streaming from various modules beyond the engine control unit (ECU).
Enhanced OBD-II Scanners: These scanners offer more advanced functionalities. They not only read and clear generic OBD-II codes but also often access manufacturer-specific codes, which provide deeper insights into issues beyond the standard engine and emissions systems. For keyless cars, enhanced scanners might offer access to systems like the Body Control Module (BCM), which manages functions related to keyless entry, power windows, and security systems. Some may also provide features like live data streaming from more sensors and modules, and bidirectional control for certain tests.
Professional-Grade Diagnostic Scanners: These are the most comprehensive tools, often used by automotive technicians. They provide extensive access to vehicle systems, including advanced diagnostics, actuation tests, module programming, and in some cases, key programming functions. For keyless cars, a professional-grade scanner can be invaluable for diagnosing complex electronic issues, including those related to the keyless entry system, immobilizer, and other integrated modules. Tools like the Foxwell NT809BT, mentioned in the original article, fall into this category, offering a balance of professional features and user-friendliness for both enthusiasts and professionals.
When selecting a scanner for your keyless car, consider your diagnostic needs and budget. For basic code reading and clearing, a basic scanner might suffice. However, for more in-depth diagnostics, especially on a technologically advanced keyless car, an enhanced or professional-grade scanner will provide greater capability and value. Always check the scanner’s specifications to ensure it is compatible with your vehicle’s make and model and offers the features you require.
Step-by-Step Guide: Using Your Diagnosis Code Reader on a Keyless Car
Connecting and using a diagnosis code reader on a keyless car is a straightforward process. Here’s a general step-by-step guide, which we will illustrate using the Foxwell NT809BT as an example, as it was highlighted in the original article. However, the general principles apply to most OBD-II scanners.
Step 1: Preparation and Safety
- Park Safely: Ensure your vehicle is parked in a safe, well-ventilated area.
- Locate OBD-II Port: The OBD-II port is typically located under the dashboard on the driver’s side. Consult your vehicle’s manual if you are unsure of its exact location.
- Gather Your Scanner: Have your diagnosis code reader ready and ensure it is sufficiently charged or has fresh batteries.
- Key Fob Proximity: For keyless cars, ensure the key fob is inside the vehicle. This ensures that the car’s electronic systems are fully active and ready for diagnostic communication.
Step 2: Connect the Scanner
- Ignition to ‘Accessory’ or ‘ON’ Position: Without starting the engine, turn the ignition to the ‘Accessory’ or ‘ON’ position. This activates the car’s electrical systems, including the OBD-II port, without starting the engine. For push-start button cars, this usually means pressing the start button without pressing the brake pedal.
- Plug in the Scanner: Firmly plug your diagnosis code reader into the OBD-II port. You should feel it click into place.
Step 3: Power On and Vehicle Identification
- Power On Scanner: Turn on your diagnosis code reader. Most scanners will power on automatically once connected to the OBD-II port, while some may have a separate power button.
- Vehicle Identification: Many scanners, like the Foxwell NT809BT, will automatically attempt to identify your vehicle’s make, model, and year. Follow the scanner’s on-screen prompts. You may need to manually enter your vehicle’s information if automatic identification fails, or for older scanners.
Step 4: Run Diagnostics
- Navigate the Menu: Use the scanner’s interface to navigate to the diagnostic menu. Options typically include “Read Codes,” “Clear Codes,” “Live Data,” “Freeze Frame Data,” and “System Tests.”
- Read Diagnostic Trouble Codes (DTCs): Select the “Read Codes” option. The scanner will communicate with your vehicle’s computer and display any stored DTCs. Record these codes for further investigation. Note whether the codes are generic (P-codes) or manufacturer-specific (e.g., C-, B-, U-codes).
- Explore Other Functions: Depending on your scanner’s capabilities and your diagnostic needs, you can explore other functions such as viewing live sensor data, performing system tests, or clearing codes after repairs. Caution: Be careful when clearing codes, as this may erase valuable diagnostic information and potentially affect emissions readiness monitors.
Step 5: Disconnect and Interpret Results
- Disconnect Scanner: Once you have finished your diagnostic session, safely disconnect the scanner from the OBD-II port.
- Interpret Codes: Use a reliable DTC lookup resource (online or within the scanner if equipped) to understand the meaning of the diagnostic trouble codes you retrieved. This will help you identify the potential issues affecting your vehicle.
- Further Action: Based on the DTCs and your interpretation, decide on the next steps, which might include further diagnosis, repair, or seeking professional automotive service.
By following these steps, you can effectively use a diagnosis code reader on your keyless car to gain valuable insights into its health and performance. Remember to always consult your scanner’s user manual for device-specific instructions and safety information.
Troubleshooting Common Connection and Usage Issues
Even when following the correct procedure, you might encounter issues when using a diagnosis code reader on your keyless car. Here are some common problems and troubleshooting tips:
1. Scanner Fails to Connect:
- Check Power: Ensure both the scanner and the vehicle have power. Verify the car’s ignition is in the ‘Accessory’ or ‘ON’ position, and the scanner is powered on (charged battery or properly connected power source).
- OBD-II Port Condition: Inspect the OBD-II port for any damage or debris that might prevent a good connection.
- Scanner Compatibility: Double-check that your scanner is compatible with your vehicle’s make, model, and year. Refer to the scanner’s manual or manufacturer’s website for compatibility information.
- Connection Security: Ensure the scanner is firmly plugged into the OBD-II port. A loose connection can interrupt communication.
2. No Codes Found (But Warning Light is On):
- Code Type: Basic OBD-II scanners primarily read engine and emissions-related P-codes. If the warning light is related to another system (e.g., ABS, SRS, BCM), a basic scanner might not access those codes. You may need an enhanced or professional-grade scanner capable of reading manufacturer-specific codes.
- Intermittent Issues: Some issues might be intermittent and not currently triggering a stored DTC. In such cases, live data monitoring might be more helpful to observe sensor readings in real-time.
- Scanner Limitations: Some very basic scanners might not be able to read all types of codes or access all vehicle systems.
3. Scanner Freezes or Malfunctions:
- Software Updates: Ensure your scanner’s software is up-to-date. Manufacturers often release updates to improve performance and compatibility.
- Restart Scanner and Vehicle: Try restarting both the scanner and your vehicle. Turn off the ignition completely, unplug the scanner, wait a few moments, and then reconnect and retry the process.
- Check Scanner Manual: Consult your scanner’s manual for specific troubleshooting steps or error codes displayed by the scanner itself.
4. Difficulty Interpreting Codes:
- DTC Lookup Resources: Use reliable online DTC lookup websites or apps, or the scanner’s built-in code definition feature if available.
- Vehicle-Specific Information: Some codes can be vehicle-specific or require further context for accurate interpretation. Consulting a vehicle-specific repair manual or online forums for your car model might provide additional insights.
By systematically troubleshooting these common issues, you can often resolve connection problems and effectively use your diagnosis code reader on your keyless car. If problems persist, or if you are unsure about interpreting the diagnostic results, seeking assistance from a qualified automotive technician is recommended.
Ensuring Compatibility and Safety
Device Compatibility: Prior to using any diagnosis code reader, it is crucial to verify compatibility with your specific keyless car.
- Consult Manuals: Always refer to the user manuals for both your vehicle and the diagnosis code reader. These manuals usually list compatible models, makes, and communication protocols.
- Manufacturer Websites: Check the scanner manufacturer’s website for compatibility checkers or databases. Many provide tools where you can enter your vehicle’s year, make, and model to confirm compatibility.
- Online Forums and Communities: Automotive forums and online communities dedicated to your car make or model can be valuable resources. Users often share their experiences with different scanners and compatibility issues.
Safety Precautions: Safety should always be paramount when working with vehicle electronics and diagnostic tools.
- Reputable Manufacturers: Use diagnosis code readers from reputable brands to ensure they meet safety standards and are less likely to introduce security vulnerabilities into your vehicle’s systems.
- Software Updates: Regularly update the software of your diagnosis code reader. Updates often include security patches and improvements to protect against potential vulnerabilities.
- Disconnect After Use: Always disconnect the scanner from the OBD-II port after you have finished your diagnostic session. Leaving it connected unnecessarily could potentially pose a security risk or drain the vehicle’s battery in some cases.
- Secure Environment: Perform diagnostic procedures in a secure environment to minimize the risk of unauthorized access or interference.
- Understand Limitations: Be aware of the limitations of your scanner and your own diagnostic expertise. For complex issues, always consult a professional automotive technician.
By prioritizing compatibility and adhering to safety guidelines, you can confidently and securely use a diagnosis code reader on your keyless car, ensuring both effective diagnostics and vehicle safety.
Conclusion: Empowering Keyless Car Owners with Diagnostic Tools
Understanding how to effectively use a diagnosis code reader on your keyless car is a significant step towards becoming a more informed and empowered vehicle owner. The ability to diagnose issues, understand warning lights, and access vital vehicle data puts you in a better position to maintain your vehicle’s health and performance. Tools like the Foxwell NT809BT and similar diagnostic scanners are invaluable assets, bridging the gap between complex automotive technology and user-friendly accessibility.
By embracing these diagnostic capabilities, you not only enhance your driving experience and ensure your vehicle remains in optimal condition but also gain a deeper understanding of the sophisticated systems that power modern keyless cars. This guide serves as your roadmap to confidently navigate the world of automotive diagnostics, empowering you to take proactive control of your keyless car’s technology and maintenance.
FAQs
How to Use OBD2 Scanner on Push Start Car?
Using an OBD2 scanner on a push-start car is similar to using it on any keyless car. The key is to put the vehicle in the “Accessory” or “Run” position without starting the engine. For most push-start cars, this is achieved by pressing the start button once or twice without pressing the brake pedal. Then, simply plug in your OBD2 scanner to the OBD-II port and follow the scanner’s prompts as usual.
Can You Use an OBD2 Scanner to Program a Key Fob?
Standard OBD2 scanners generally do not have the capability to program key fobs. Key fob programming is a more specialized function that usually requires advanced diagnostic tools or dedicated key programmers. Some professional-grade scanners might offer key programming capabilities, but this is not a standard feature of basic or even enhanced OBD2 scanners. Always check the specifications of your scanner to see if key fob programming is supported.
How Do I Connect My Car to Code Reader?
To connect your car to a code reader, first locate the OBD-II port, usually found under the steering column. Turn the ignition to the “On” or “Accessory” position without starting the engine. Plug the code reader firmly into the OBD-II port. The code reader should power on (or be powered on separately) and establish a connection with your vehicle’s computer system, allowing you to read diagnostic data.